说明
Disconf服务依赖的环境除了前两篇博文描述的外,还需要一个java的servlet容器(tomcat),因为Disconf项目是前后的分离的,所以还需要一个httpweb服务器(推荐使用nginx),当然还需要数据持久化话数据库mysql还持久化我们的数据
准备
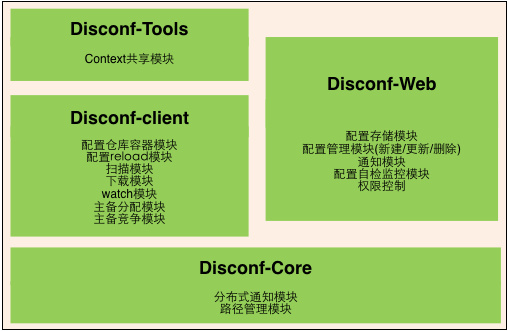
ps:Disconf是一个开源的产品,代码托管在github上https://github.com/knightliao/disconf,项目是用maven构建,首先把项目下载下来,里面会有三个模块,分别是核心模块,客户端模块,web端模块,部署我们的Disconf服务需要将web模块打成war来部署,在打包之前我们需要先将相关的配置配置好
1.在配置相关服务前,先把我们用的数据建好,这里假设你已经有了mysql服务
在web模块的sql\目录下有建库的脚本
为了方便大家开发,统一了所有SQL,请先后执行:
- 0-init_table.sql create db,tables
- 1-init_data.sql create data
- 201512/20151225.sql patch
配置
在web模块的profile\rd下面有好多配置文件,根据文件名称我们可以清楚知道配置文件分别对应什么服务,配置文件包括:
- jdbc-mysql.properties (数据库配置)
- redis-config.properties (Redis配置)
- zoo.properties (Zookeeper配置)
- application.properties (应用配置)
部署
部署War
修改tomcat的配置文件server.xml,在Host结点下设定Context,docBase为你打包的war的解压路径:
并设置端口为 8015
启动Tomcat,即可。
部署 前端
修改 nginx.conf
server {
listen 8081;
server_name localhost;
access_log /home/work/var/logs/disconf/access.log;
error_log /home/work/var/logs/disconf/error.log;
location / {
root /home/work/dsp/disconf-rd/war/html; #这里指定你的disconf项目web模块的html文件路径
if ($query_string) {
expires max;
}
}
location ~ ^/(api|export) {
proxy_pass_header Server;
proxy_set_header Host $http_host;
proxy_redirect off;
proxy_set_header X-Real-IP $remote_addr;
proxy_set_header X-Scheme $scheme;
proxy_pass http://127.0.0.1:8015;#代理地址配置为你的tomcat访问地址
}
}
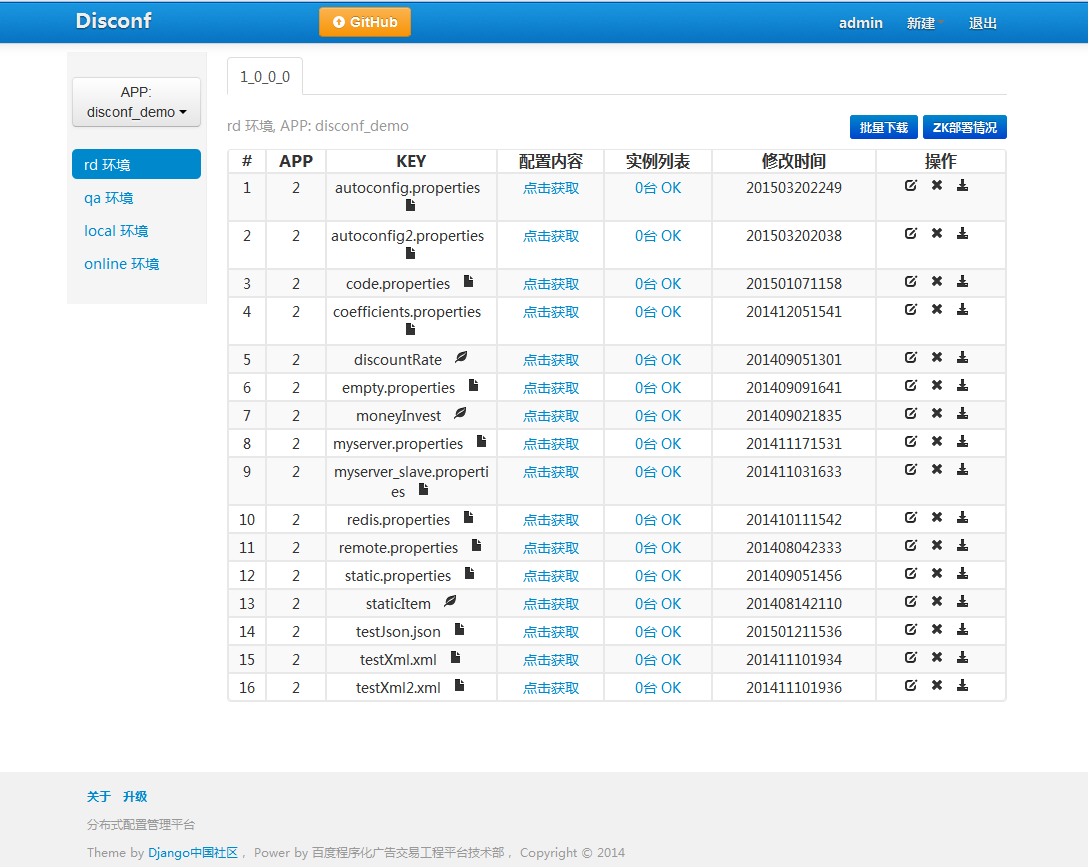
完成以上步骤,可以启动tomcat和nginx服务器,在地址栏输入localhost:8081l来访问你的Disconf配置中心了,如果成功,你会看到如下画面
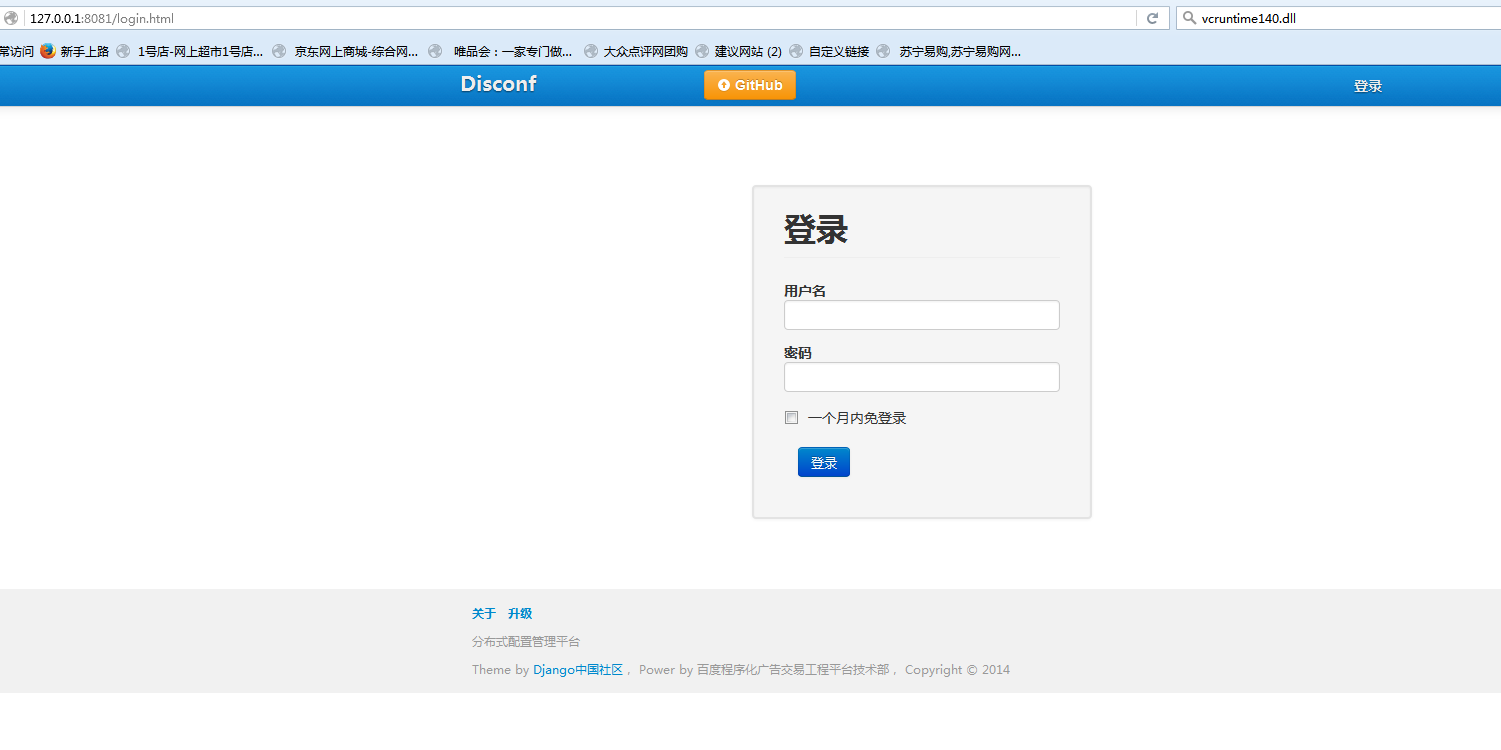
看到上面那个画面只能说明你的nginx服务启动成功,而且正确的指定了你的html项目目录,如果你能正确登入了,默认用户名密码admin:admin,才说明你的Disconf服务配置成功了